Bit2Me Earn is our Staking service through which you can earn rewards by growing your cryptocurrencies without doing anything, completely free of charge.
Manually add funds to Earn
You can add funds to Earn from different sections of the platform. The quickest way to add funds is as follows:
- Click on the operations button (blue square) which you'll find in the horizontal menu at the bottom of the screen if you're using the app, or in the top right corner if you're on the website:
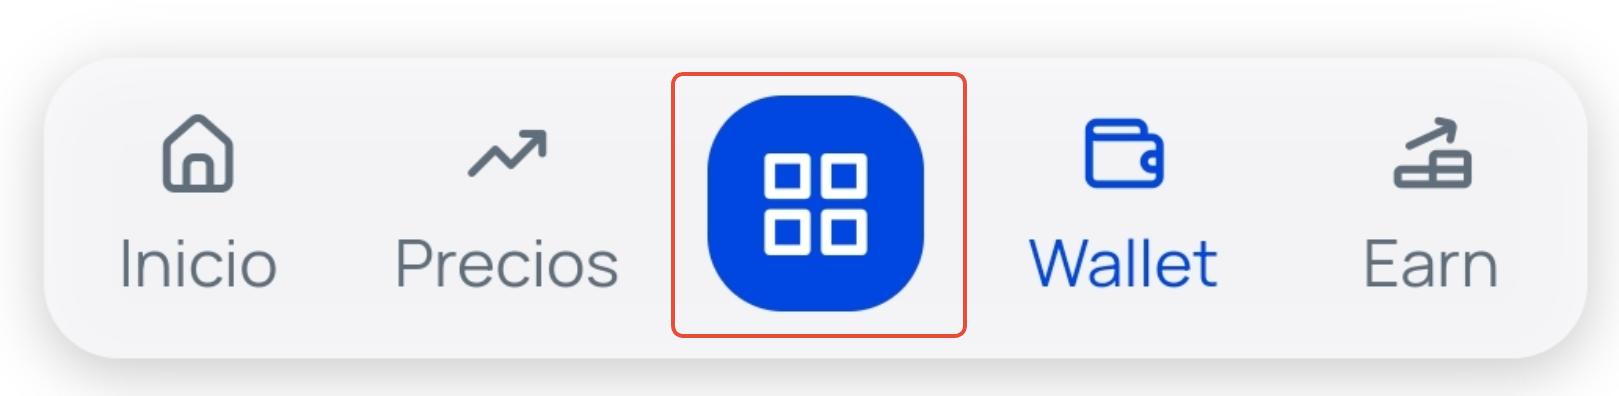
- Click on the option +Earn
 .
. - Select the cryptocurrency you have in your wallet from the list that you want to add to Earn.
- Enter the amount you want to add in the form and click the button Add .
- In the last window, you will be informed that the funds have been added. Click on Continue and start enjoying the benefits of Bit2Me Earn.
Add funds to Earn automatically (Savings Mode)
If you prefer to automatically add your Wallet balance to Earn without doing it manually each time, you can activate Savings Mode:
- To activate it: In the Earn section, click on the blue option 'Get the most out of your balance. Add it to Earn automatically'. Then, click the blue button 'Activate Savings Mode' and confirm the action. You will see the message 'Savings Mode activated' displayed below your Earn balance.
- To deactivate it: Click on the text 'Savings Mode activated', click the brown button 'Deactivate Savings Mode' and confirm. Once deactivated, you will need to manually add your funds to Earn again whenever you wish.
Important: Funds deposited in Earn will no longer be available in Wallet. If you wish to sell, send, or exchange funds you have in Earn, you will need to withdraw them from the service to move them back to Wallet. |
Was this article helpful?
That’s Great!
Thank you for your feedback
Sorry! We couldn't be helpful
Thank you for your feedback
Feedback sent
We appreciate your effort and will try to fix the article